Installation for administrators

Create deployments from Autodesk Account

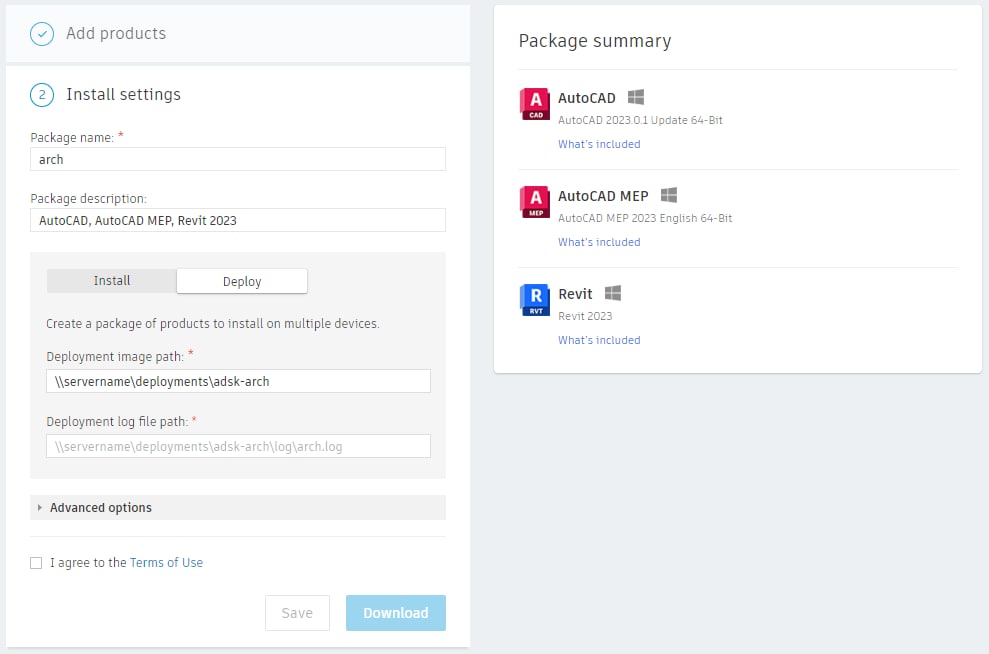
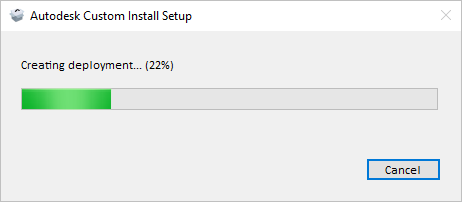
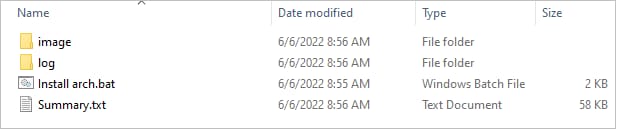
For most 2022 releases and later, you create deployments from Autodesk Account (Windows products only).

For most Windows product releases earlier than 2022, you use the classic installer to create deployments. See Create deployments from the classic installer.

Note: A few Windows product releases earlier than 2022 also support deployments from Autodesk Account:

  • 3ds Max 2021
  • Maya 2020
  • Maya LT 2020
  • Revit 2021.1
  • VRED 2021

Select and customize your products

  1. Sign in to Autodesk Account at manage.autodesk.com.
  2. Select Custom Install from the left navigation pane.
  3. Click Create New.
  4. Select the license type.
  5. In the Add A Product section, select one or more products to add to the deployment package. If you don't see a product listed, you can download it from All Products and Services and select Create Deployment in the installer.

    As you select products, you can customize them in the right panel. You can select the version to include in the deployment. All installers needed for that version are included in the deployment. You can also add optional applications or specify a storage location for content, including templates, materials, and drawings.

    Custom settings apply to every instance of the product installed from the deployment. After you create the deployment, you can't change these settings. Serial numbers and product keys automatically appear based on your license type. 

    Note: Configuration settings vary by product. For more information, see the product's installation instructions.

Enter settings and create the deployment

  1. After selecting the products you want in the deployment package, click Next to go to the Install Settings. You can go back to the previous step by clicking the section header.
  2. Enter a package name. This name appears in file names and identifies the deployment after it's created on your network share. Represent who the package is intended for and which products are included. Use a valid Windows file name.
  3. (Optional) Enter a package description. This will help you understand the contents of the package when you view it in a list.
  4. For the installation type, choose Deploy. (If you choose Install instead, you create a package of products to install on your own device.)
  5. Enter a deployment image path. This is the location on your network share where the deployment is created. You can use a UNC (Uniform Naming Convention) path name (recommended) or a drive letter and path, for example: \\servername\path  or  C:\Autodesk\Deployments. Use a valid Windows folder path.
  6. Enter a deployment log file path, if necessary. The default path is shown in the illustration. Each installation of the deployment writes diagnostic information to this log. Use a valid Windows folder path.
  7. If you selected the Network license type, add the license server information by clicking Specify License Server and then clicking Save.
  8. Expand Advanced Options to make other package changes, such as changing the default installation path.

    Image showing the Enter package details dialog
  9. Confirm the settings in the Deployment Summary in the right pane.
  10. Click the checkbox to agree to the Terms of Use.
  11. Click Download or Save. Download puts the deployment creation executable in your Downloads folder, or another folder based on your browser settings. This file is about 10 MB and includes the deployment configuration and the executable that creates the deployment. Save allows you to save the package for later without downloading it.

    Note: At this point, product images aren't downloaded.
  12. When the download is ready, double-click the downloaded file to create the deployment. After it’s complete, you can either close the deployment tool or view the deployment in the deployment folder.

    Image showing the Creating deployment progress bar from Autodesk Account

Install the deployment

To install the deployment on a workstation, do one of the following: 

Manual installation using the batch file

You can run the batch file manually to install the product on a workstation. In the deployment folder, the Install <deployment name>.bat file contains the command line parameters that you use to install the product.

Image showing the deployment folder


The batch file is also a good resource for creating a Configuration Manager installation script. Although the script uses full paths to the configuration files, you can use relative paths. Also, there is a Summary.txt  file that gives detailed information about every application installer included in the deployment, such as the installer name and build number. For a completely silent install, comment out the first line in the batch file and remove the comment from the second line. In this case, no user interface appears. (The default batch file installation has a minimal user interface.)

Note: You need administrative privileges to run the downloaded bootstrap file.

Test the deployment

Before you distribute products to workstations, run the deployment on a test workstation to make sure that everything is working properly. 

  1. Using a typical user profile, sign in to a client machine with a profile that doesn't have admin permissions.
  2. Run the product to verify that: 
    • There are no licensing errors.
    • Major features critical to your work are functioning as expected. 
    • All updates, customizations, and add-ons have been correctly applied.