Installation for individuals

Install your product

Product installation varies according to which method you use:

  • Simple download from Autodesk Account at manage.autodesk.com.
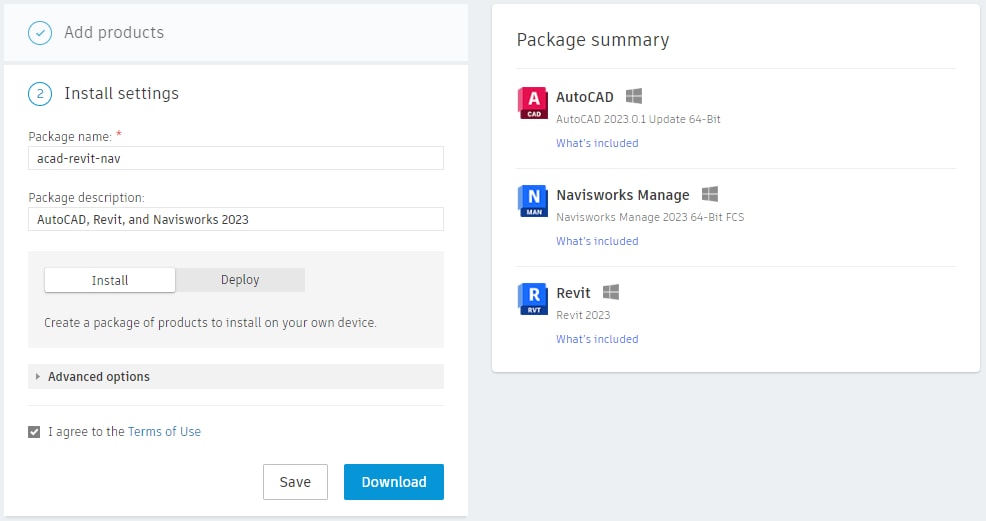
  • Custom Install from Autodesk Account to configure the installer before you download and install.

Note: For most 2022 and later products for Windows, you can configure your product in Autodesk Account before you install. For most product releases earlier than 2022, you download the installer and then customize during installation.

Simple download from Autodesk Account

From a simple download, products install with the base configuration.

  1. Sign in to your account at manage.autodesk.com.
  2. From the All Products and Services tab in Account, select a product and download method (see Download methods).
  3. If you choose the Download method, run the EXE file (Windows), mount the DMG file (macOS), or extract the TAR file (Linux) associated with your product and version.

    Note: For Windows, most 2022 and later products use the Autodesk Create Installer.

    Create installer loading bar

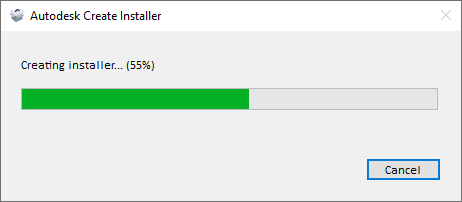
    Run the small exe to create the installer in your downloads folder. Earlier versions download self-extract SFX files.

  4. Read and accept the license agreement.
  5. Click Install.
  6. If you see a Product Language drop-down menu, choose the language that the customer speaks. (If you don't see a Product Language menu, you can download and install a language pack after the product is installed.)
  7. Optionally replace the default installation path with a new one if the option is available.
  8. When installation is complete, close the installer or start the product.

Custom standalone install from Autodesk Account

  1. Sign in to your account at manage.autodesk.com.
  2. Select Custom Install from the navigation pane.
  3. Select the license type.
  4. In the Add a product section, select one or more products to add to the custom package.
  5. As you select products, you can customize them in the right panel. You can select the version to include in the package. If you select a version, installers for that version are automatically included in the package. You can also add optional applications or specify a storage location for content, including templates, materials, and drawings.
  6. After selecting the products you want in the custom package, click Next to go to the Enter Package Details section. (You can go back to the previous step by clicking the section header.)
  7. In the Enter Package Details section, enter a package name or use the default name. We recommend using a name that will help you identify this package when viewing the list, such as who it's intended for or what products are included. Use a valid Windows file name.

  8. Image showing the Enter package details dialog

  9. (Optional) Enter a package description.
  10. Select Install, which creates a package of products to install on your own device. (The Deploy option creates a package of products to install on multiple devices. For more information about deployments, see Create deployments from Autodesk Account.
  11. Expand Advanced Options to make other package changes, such as changing the default installation path.
  12. Agree to the Terms of Use.
  13. Click Download to download the custom package executable to your Downloads folder, or another folder based on your browser settings. The package will be automatically saved in your library, and the page will return to the list of packages. Click Save to save the package without downloading it.
  14. Run the downloaded installer package.